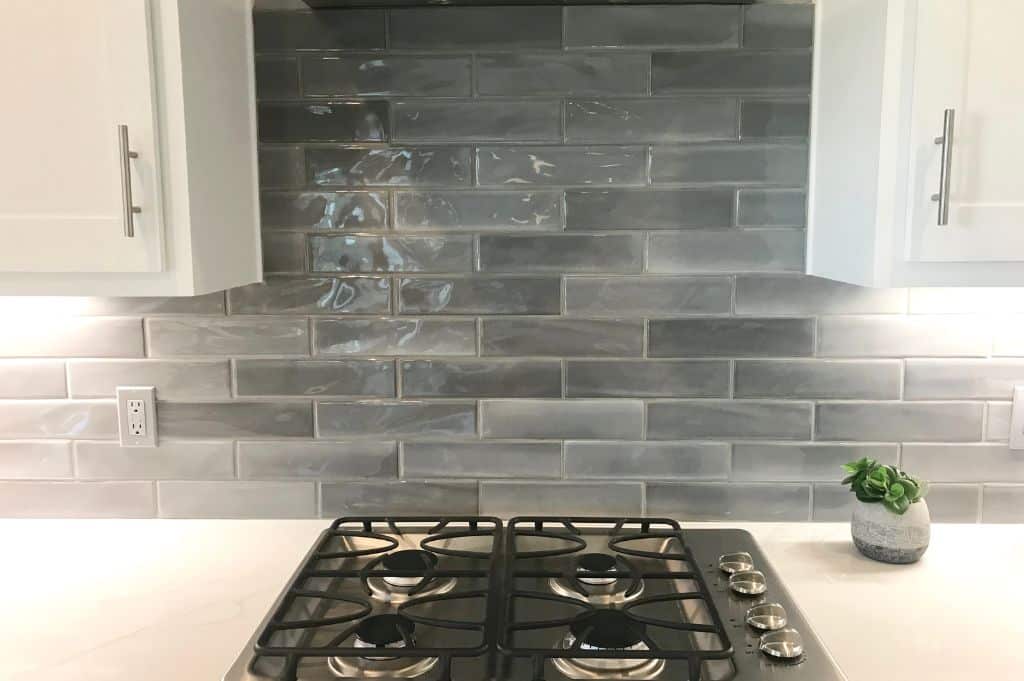
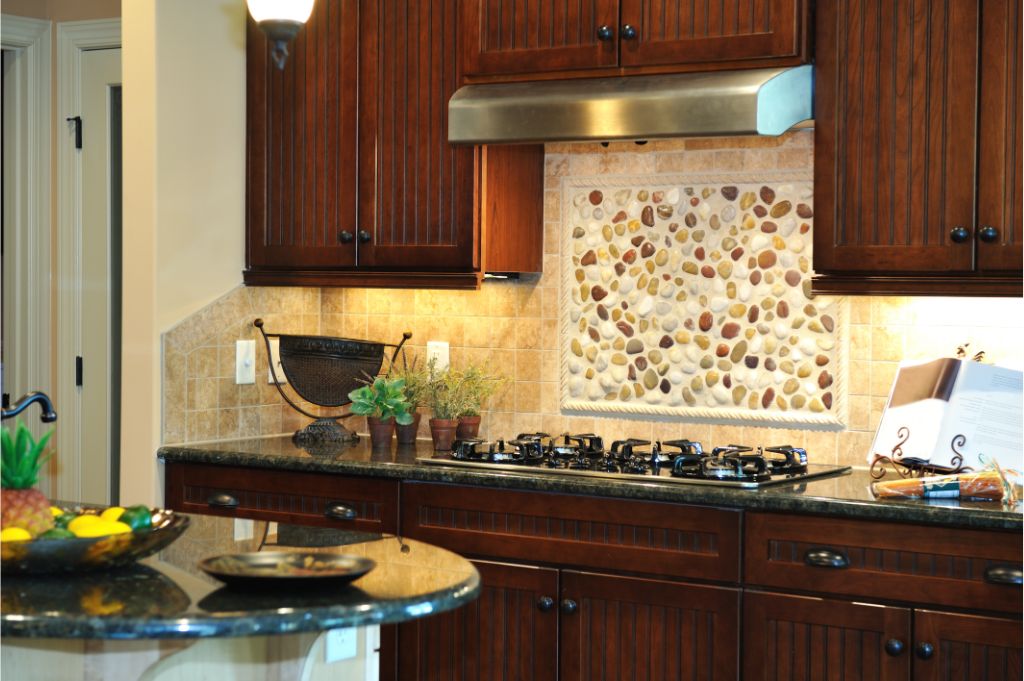
Tile is one of the most common types of flooring in kitchens. It’s versatile and can be installed in a variety of ways, including as a backsplash, to cover an entire kitchen floor, or in combination with other surfaces such as vinyl or linoleum. Whether you’re installing tile for the first time or you’re looking for tips on how to install it in your current kitchen, check out this blog post for some helpful advice!
Installing Tile in Your Kitchen
1. Choose the Right Tile
There are many different types of tile available on the market, so it’s important to choose the right type for your kitchen. If you’re not sure what type of tile to choose, consult with a professional tile installer or designer.
2. Plan the Layout
Once you’ve chosen the right tile, it’s time to plan the layout. It’s important to take into account the size and shape of your kitchen when planning the layout. You also need to consider where the appliances will be located and how much traffic the area will get.
3. Prep the Surface
Before you can install the tile, you need to prep the surface. This includes cleaning the surface and making sure it is free of debris. You also need to apply a primer to ensure that the tile adheres properly.
4. Cut the Tile
Once you have prepped the surface, it’s time to cut the tile. When cutting tile, it’s important to use a wet saw to avoid cracking or chipping the tile.
5. Install the Tile
After cutting the tile, it’s time to install it. Start by adding the adhesive to the surface and pressing it in place. Then, lay down the tile, cut out the grout joints, and apply grout.

Installing Tile – Nadine Floor Company
Install the tile from top to bottom
1. Start by installing the tile from the top of the backsplash to the bottom. This will ensure that the tile is level and installed correctly.
2. Use a level to make sure that each row of tile is level as you work your way down. If necessary, adjust the tile accordingly.
3. Once you reach the bottom of the backsplash, trim any excess tile with a utility knife.
4. Finally, apply grout to the joints between the tiles and allow it to dry completely.
Measure, Cut, and Mark the Tiles
1. Measure, Cut, and Mark the Tiles: The first step in installing tile is to measure, cut, and mark the tiles. You will need a tape measure, a pencil, and a tile cutter. Use the tape measure to measure the area where you will be installing the tile. Then use the tile cutter to cut the tiles to size. Finally, use the pencil to mark where you will need to make cuts for outlets or other obstructions.
2. Spread the Adhesive: Once you have measured, cut, and marked the tiles, it is time to spread the adhesive. Use a notched trowel to spread an even layer of adhesive on the area where you will be installing the tile. Be sure to work in small sections so that the adhesive does not dry out before you are able to install the tile.
3. Install the Tile: Now it is time to install the tile! Start in one corner of the area and begin setting the tile into the adhesive. Use a level to make sure that each tile is level with the ones around it. Once all of the tiles are in place, allow the adhesive to cure for 24 hours before grouting.
Start by Installing Tile on Two Sides One at a Time
1. Start by installing tile on two sides one at a time. This will help you to get a feel for how the tile should be installed and will also allow you to make any necessary adjustments before you install the rest of the tile.
2. Once you have installed tile on two sides, you can then move on to the other two sides. Again, take your time and make sure that each piece of tile is properly installed.
3. Once all four sides are complete, you can then move on to the center of the room. Start by installing the tile in the middle of the room and then work your way outwards.
4. Finally, once all of the tile is installed, you can grout it. Choose a color that compliments the tile and then follow the instructions on the grout package to properly apply it.

Installing Tile – Nadine Floor Company
Important Safety Tips for Installing Tile Near Electrical Outlets
If you are planning to install tile in your kitchen, there are some important safety tips to keep in mind when working near electrical outlets. First, always shut off the power to the outlet before beginning any work. Second, use a voltage tester to make sure the outlet is completely dead before proceeding. Third, use caution when cutting tiles to fit around the outlet. Be sure to wear eye protection and use a sharp blade to avoid chipping the tile. Fourth, when grouting around the outlet, be careful not to get any grout on the electrical wires. Finally, wipe down the area around the outlet after completing your work to remove any dust or debris.
By following these simple safety tips, you can avoid any accidents or injuries while installing tile in your kitchen.
Finishing Touches: Pro Tips for an Even Installation
No matter how level your floors are, small imperfections can throw off your tile installation. So, before you begin, use a long level to check your starting point and make sure it’s absolutely level. Once you’ve confirmed your starting point is level, lay down a row of tiles along the chalk line, making sure to butt them up tightly against each other.
Use a notched trowel to apply thinset mortar to the back of each tile. Start in the middle of the tile and work your way out to the edges. Be sure to smooth out any air pockets or lumps in the thinset mortar.
After you’ve applied thinset mortar to the back of each tile, set each tile in place on the floor. Use a rubber mallet to gently tap each tile into place. Once all of the tiles are in place, let the thinset mortar dry for at least 24 hours before grouting.
Skip all the Hard Work and Call Nadine Floors!

Installing Tile – Nadine Floor Company
Nadine Floor Company is a family-owned and operated business since 1978. We are experts in the installation and maintenance of granite, marble, and other hardwood floorings. We have a wide variety of choices for countertops so you can find the perfect style for your home. Our experienced professionals will help you choose the right type of granite, marble, or hardwood flooring for your needs.
If you live in East Plano, West Plano or Frisco, and are looking for a professional flooring company, then you need to give us a call at (469)-666-4530 or contact us online, and our experts will help you out in no time. Schedule a free consultation today and see how Nadine Floors can help you create the home of your dreams!

