Are you considering engineered hardwood installation for your home? Whether you’re in the planning stages or already have the flooring ready to install, understanding the installation process is crucial for a successful outcome. In this comprehensive guide, we’ll walk you through the various methods of engineered hardwood installation, providing tips and insights to ensure a smooth and efficient process.
Preparation is Key
Before diving into the engineered hardwood installation process, it’s essential to prepare adequately. Here are some general tips to keep in mind:
Acclimatize the Flooring
Allow the engineered hardwood planks to acclimatize to the room’s temperature for at least 72 hours. This step ensures that the planks adjust to the environment, reducing the risk of warping or damage after installation.
Mix Planks for Variation
To add character to your flooring, mix planks from different packages to create varying shades. This simple technique adds visual interest and enhances the overall appeal of the floor.
Inspect for Damage
Before engineered hardwood installation, carefully inspect the planks for any signs of damage or defects. Avoid using warped or damaged boards, as they can compromise the integrity and aesthetics of the flooring.
Gather Necessary Tools
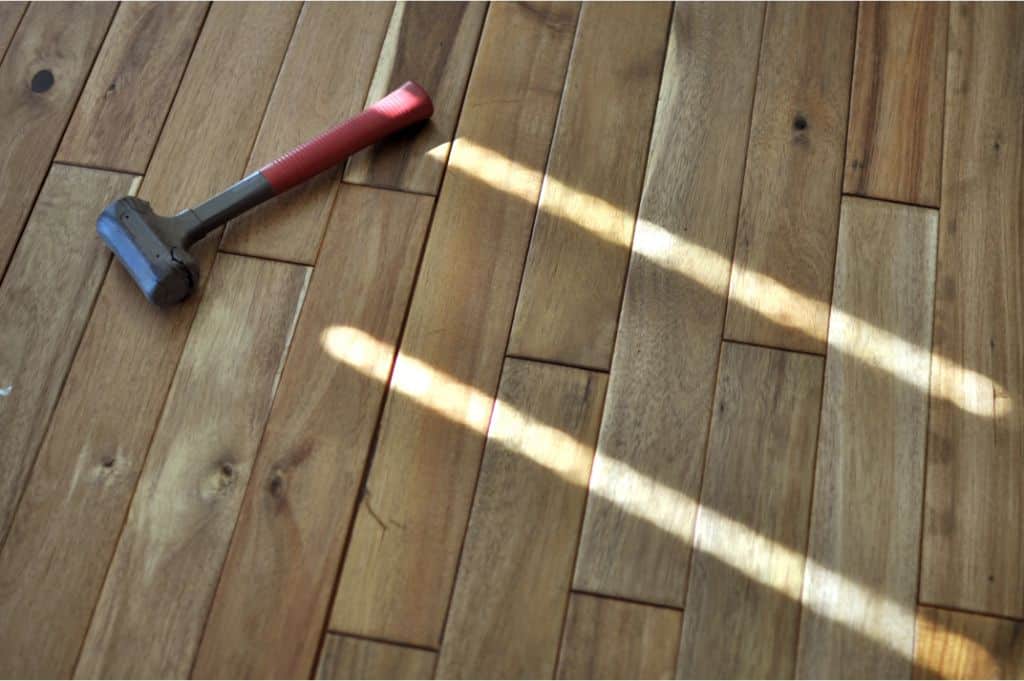
Ensure you have all the required tools on hand for engineered hardwood installation, including a cutting saw, painting tape, pull bar, rubber mallet, tapping block, trowel, spacers, and hardwood cleaning solution. Having the right tools makes the installation process more efficient and precise.

Engineered Hardwood Installation – Nadine Floor Company
Installation Methods
Engineered hardwood flooring can be installed using various methods, each offering unique advantages and considerations. Let’s explore the three primary installation methods:
Floating Method
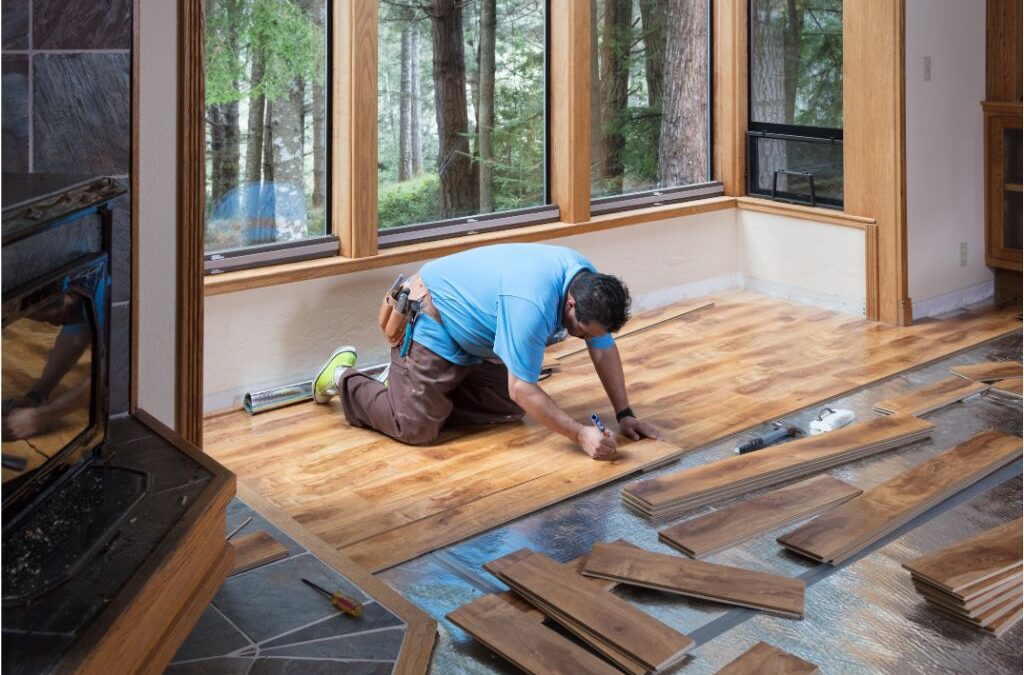
The floating method involves laying the engineered hardwood planks over a subfloor and connecting them by clicking and locking them together. This method is considered the easiest since it doesn’t require gluing or nailing. It’s ideal for DIY enthusiasts or those looking for a straightforward installation process.
Glue Down Method
The glue down method is suitable for concrete subfloors. A flooring adhesive is spread across the subfloor, and the engineered hardwood planks are then applied over the adhesive to secure them in place. This method offers a strong and durable bond, making it a popular choice for high-traffic areas.
Staple Down Method
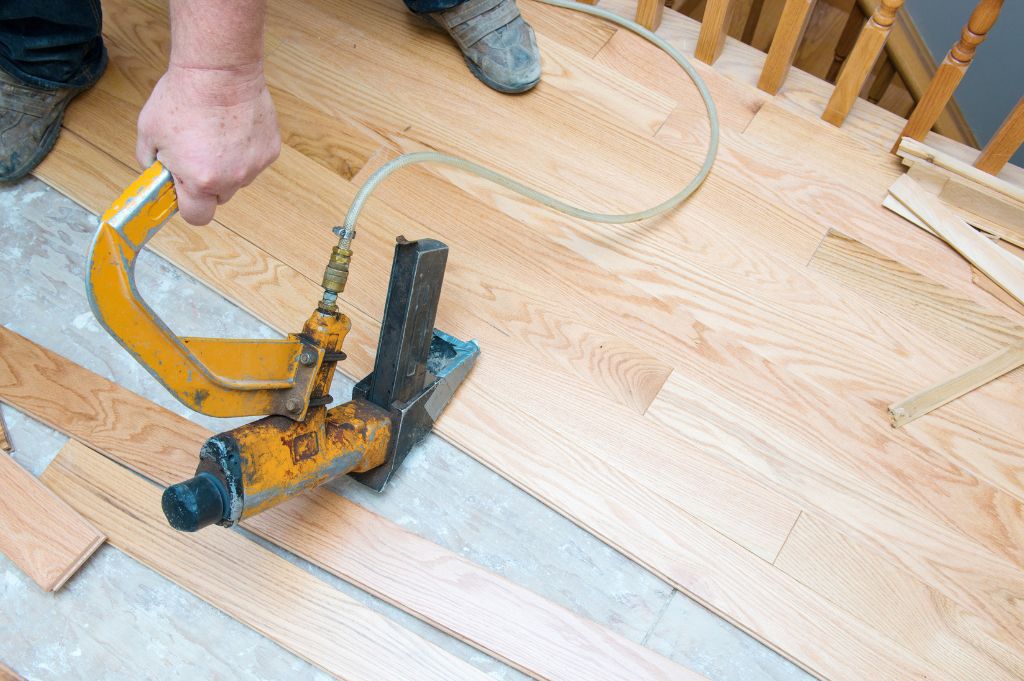
The staple down method involves physically stapling the engineered hardwood planks to the subfloor. While this method requires more precision and skill, it offers exceptional stability and longevity. It’s best suited for those with carpentry experience or those seeking maximum durability.

Engineered Hardwood Installation – Nadine Floor Company
Installation Basics
Regardless of the chosen method, certain fundamental principles apply to ensure a successful engineered hardwood installation process:
Layout Planning
Before securing the planks into place for engineered hardwood installation, lay out the first two rows to visualize the installation pattern. Use spacers to maintain a half-inch gap between the first row and the wall, ensuring proper expansion and contraction of the flooring.
Staggered Placement
To prevent pattern repetition, stagger the engineered hardwood planks by six inches. This creates a more natural and visually appealing look while minimizing waste.
Proper Alignment
Ensure that the tongue of each plank faces the wall to facilitate seamless engineered hardwood installation. Use a tapping block and rubber mallet to chisel planks into place, ensuring a tight fit.
Clean-Up
If using the glue down method for engineered hardwood installation, be prepared to clean any excess adhesive that may seep onto the planks. A hardwood cleaning solution is recommended for removing adhesive residue effectively.
Allow for Cure Time
Once the engineered hardwood installation is complete, avoid walking on the floor for at least 24 hours to allow the adhesive to cure properly. This step is crucial for ensuring a durable and long-lasting flooring solution.
Conclusion: Engineered Hardwood Installation

Engineered Hardwood Installation – Nadine Floor Company
Engineered hardwood installation offers a versatile and stylish flooring solution for modern homes. By understanding the various installation methods and following essential tips, you can achieve professional results with confidence. Whether you opt for the floating, glue down, or staple down method, proper preparation and attention to detail are key to a successful outcome.
FAQs (Frequently Asked Questions)
1. Is engineered hardwood difficult to install?
Engineered hardwood installation can vary in difficulty depending on the chosen method and your level of experience. While the floating method is relatively straightforward, the glue down and staple down methods may require more skill and precision.
2. How long does engineered hardwood installation take?
The duration of engineered hardwood installation depends on various factors, including the size of the area, chosen installation method, and preparation time. On average, installation can take anywhere from a few days to a week to complete.
3. Can engineered hardwood be installed over existing flooring?
In many cases, engineered hardwood installation can be done over existing flooring, such as laminate or vinyl, as long as the surface is flat, clean, and structurally sound. However, it’s essential to consult with a flooring professional to assess compatibility and ensure proper installation.
4. What are the benefits of engineered hardwood flooring?
Engineered hardwood offers several advantages, including durability, stability, and aesthetic appeal. It is less prone to expansion and contraction compared to solid hardwood, making it suitable for areas with fluctuating humidity levels.
5. How do I maintain engineered hardwood flooring?
To maintain engineered hardwood flooring, regularly sweep or vacuum to remove dirt and debris. Use a damp mop with a hardwood cleaner to clean the surface gently. Avoid excessive moisture and harsh cleaning agents, as they can damage the finish.
Ready to transform your space with beautiful engineered hardwood flooring? Contact Nadine Floor Company today at (469) 666-4530 to schedule your consultation and get started on your flooring project in Plano,TX!

